why arduino yun |
If your project has the word "camera" in it, you definitely have to try this.
As someone who has struggled getting photos sent wirelessly and has done so after multiple attempts between an Arduino UNO and Eyefi SD card, I can assure this is a much faster and simpler solution, not to mention a comparatively friendlier option for the wallet. The Arduino YUN is an Arduino controller with WiFi built in, this means no bulky shields are required for it. It also has a second microprocessor, Atheros AR9331, which runs Linux and has Python preinstalled.
As great as it is, I noted that there were a handful of forums discussing how the wireless connection is not always stable and experienced so occasionally (not frequent) as well. Overall it is a great controller to start many projects with.
|
INGREDIENTS
HARDWARE |
|
Software
|
All listed (software) items are available for free via the links provided.
|
Procedure
STEP 1:
|
Connect the Arduino YUN to the laptop using the microUSB cable.
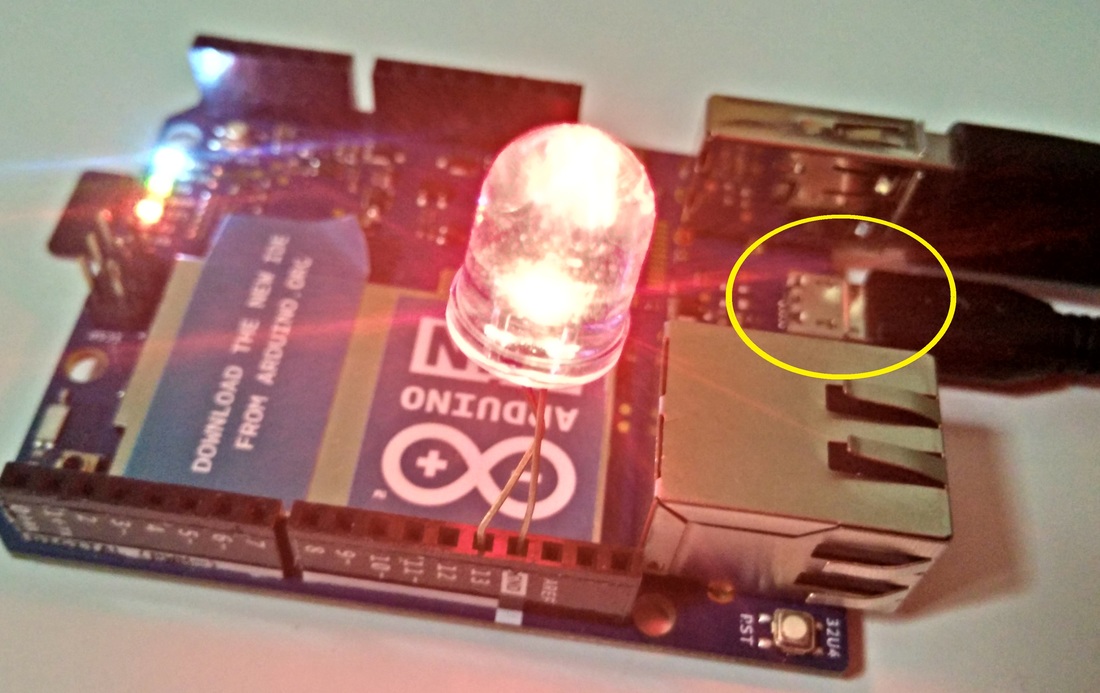
After connecting the Arduino YUN, the wireless network: Arduino Yun-XXXX XXXX XXXX will be shown as an available network. Connect to it.
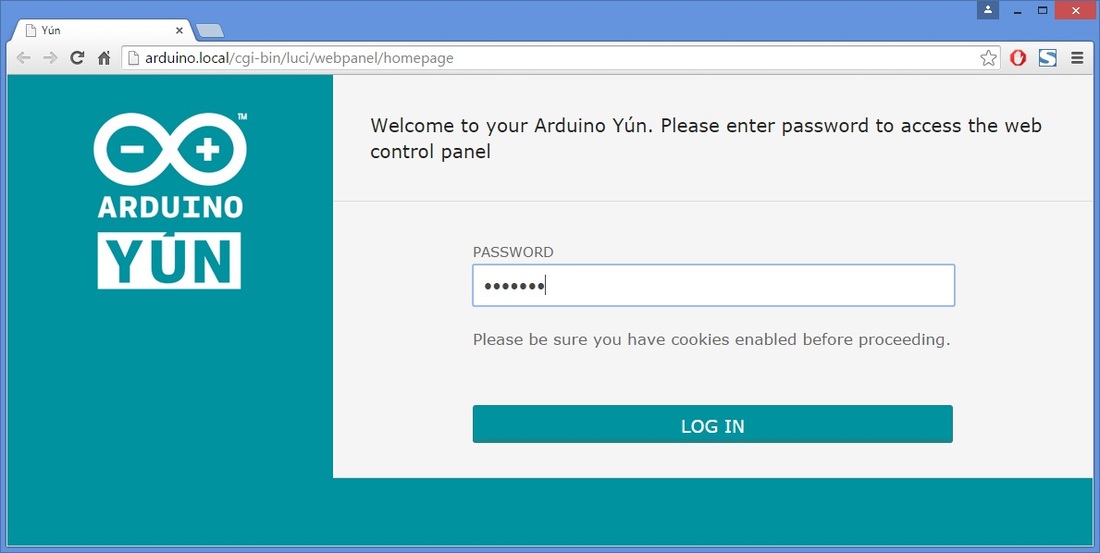
Inside the web browser, type in http://arduino.local/

The log in page will be shown if you are successfully connected to the Arduino Yun network.
The default password is arduino.
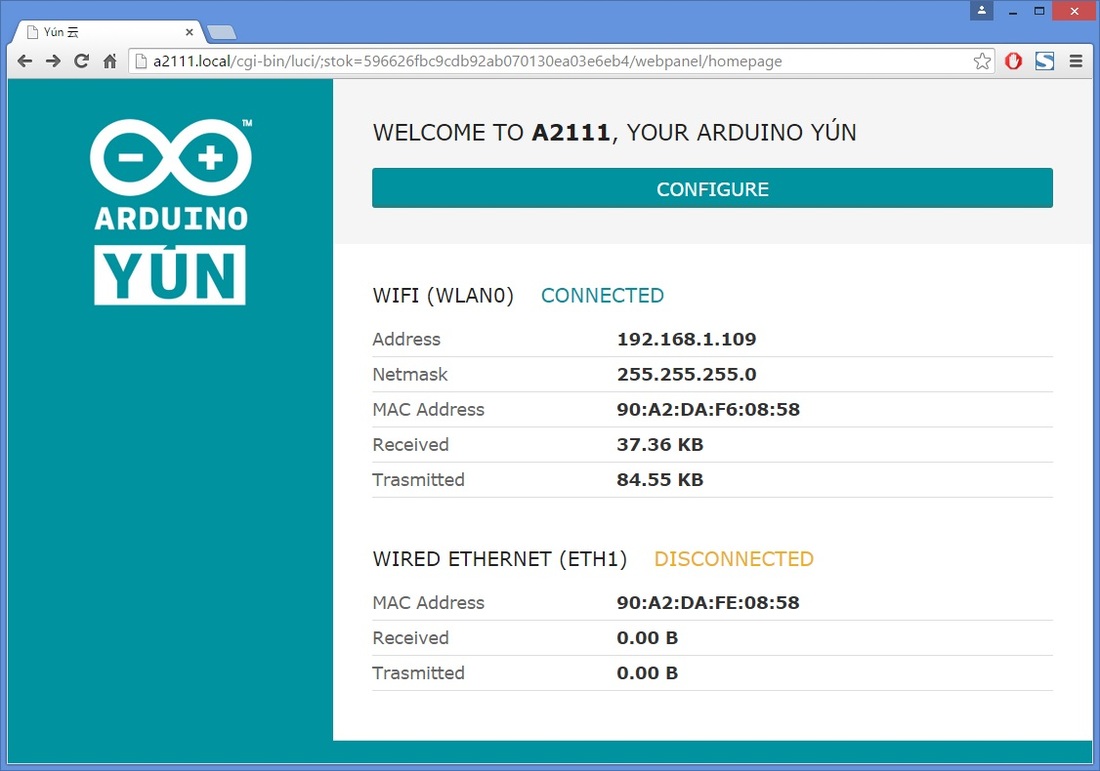
Once successfully logged in, details of the connection will be shown in the homepage.
Select Configure. 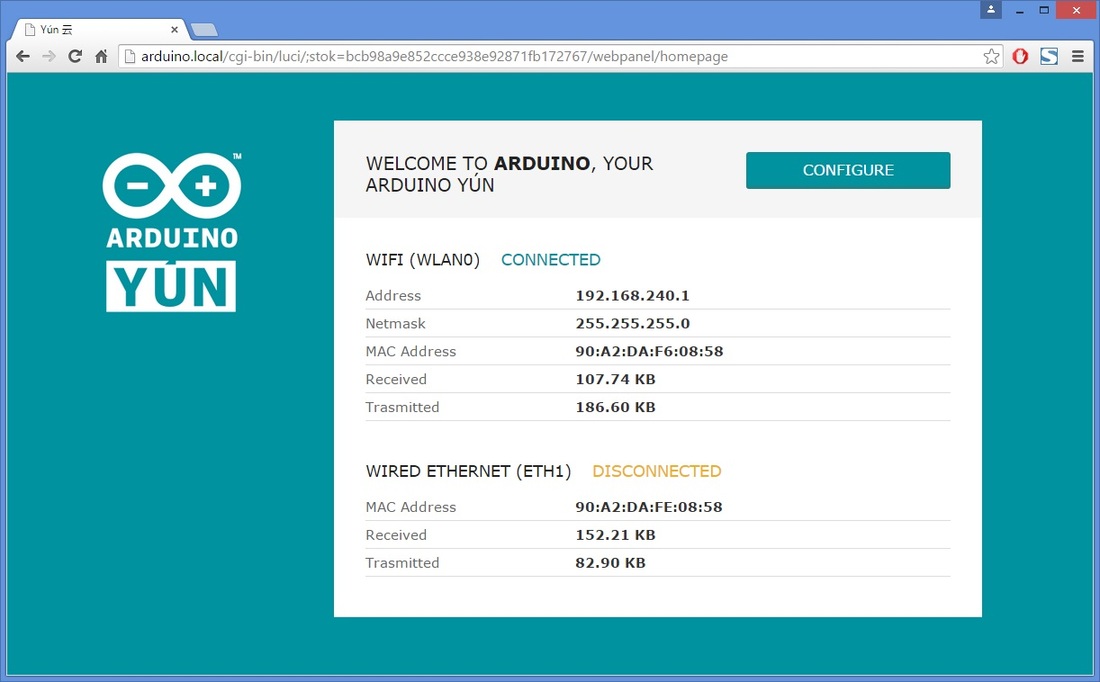
Set details of the Arduino YUN. It is important to reset the password so that another user who connects to this network is unable to access your controller.
From now on, you should key in the http://<Yunname>.local/ instead of http://arduino.local/. For example, http://A2111.local/ The password will be the one you've set here. 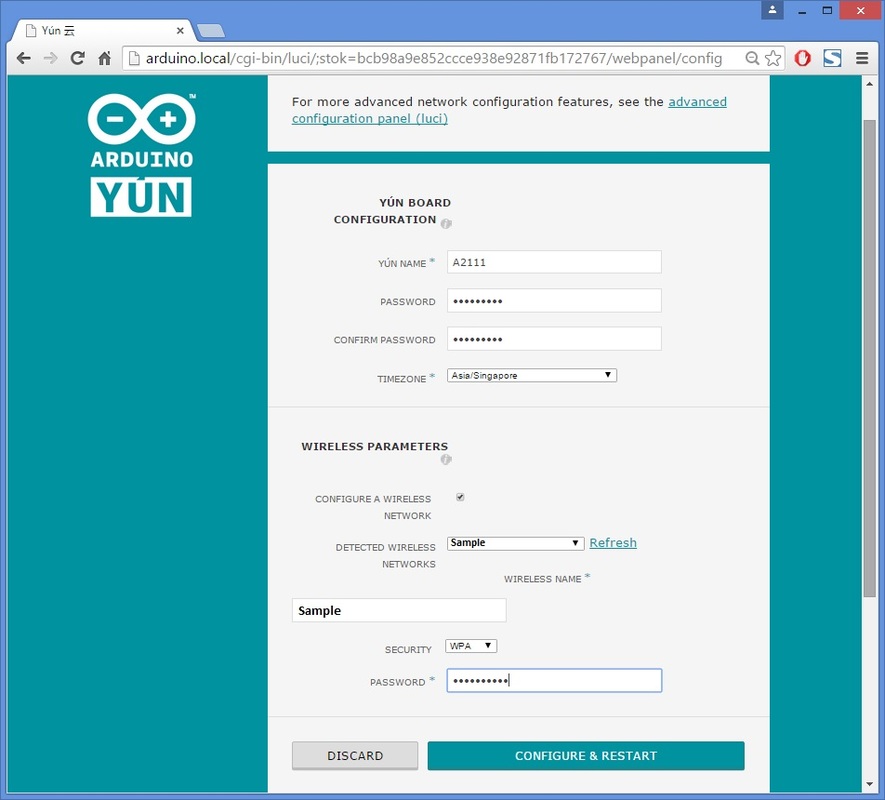
Once completed, select Configure and Restart.
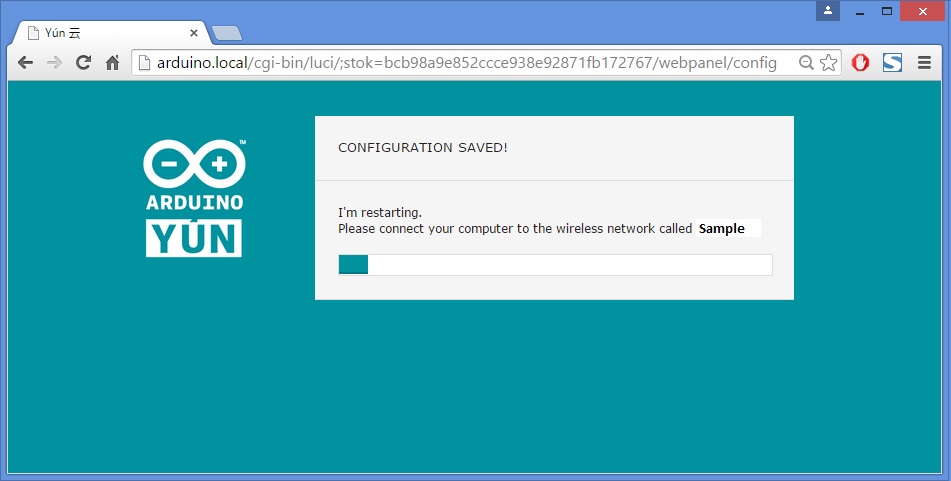
You can now connect to the Wireless Network you were previously using (before Arduino Yun -xxxx xxxx xxxx). It is the network you have set in the configuration page previously (labelled as Sample in the photos).
Open the web browser and key in http://<Yunname>.local/ and enter the password set by you. The homepage will appear upon successful log in.
|
STEP 2:
|
|
STEP 3:
|
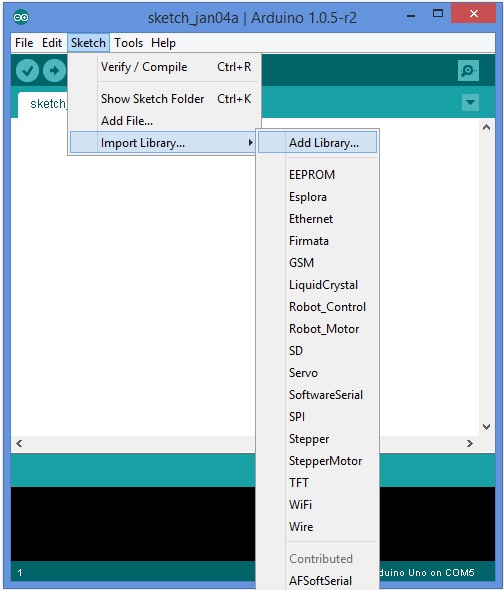
Open the file below using the Arduino Software and upload to the Arduino YUN board.
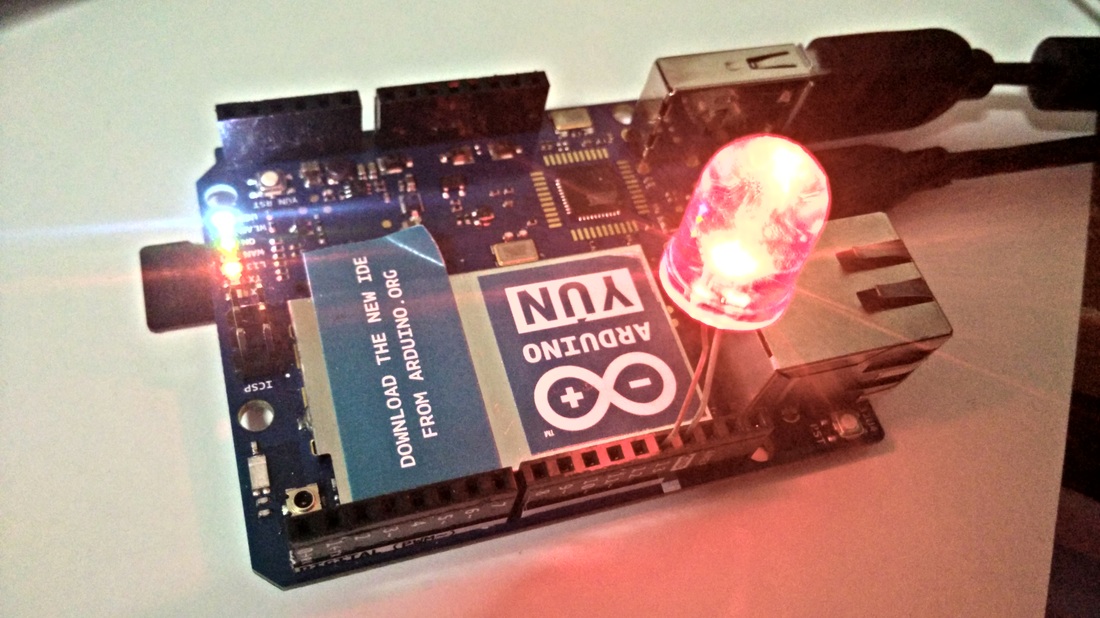
This program will allow you to open a web browser to control the LED (connected to Pin 13).
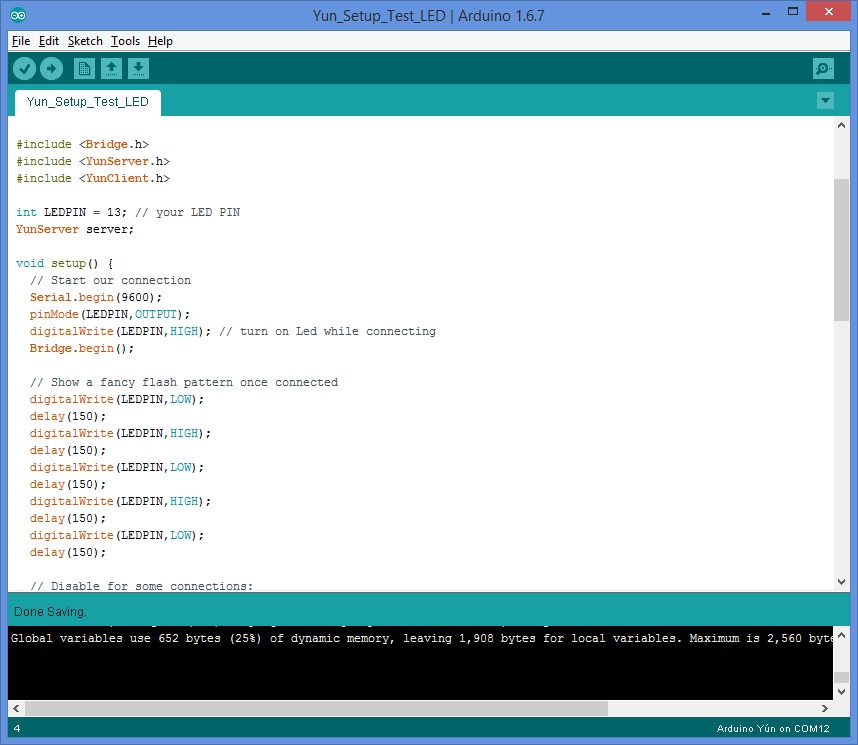
Note that the image above does not show the entire program.
| ||
STEP 4:
|
Once upload is complete, open a web browser and type http://<Yunname>.local/arduino/test.
A page will appear as shown. THIS PROGRAM DOES NOT WORK WITH GOOGLE CHROME AS IT WILL ADJUST THE SLASH at the end of the command which results in an error in the program. 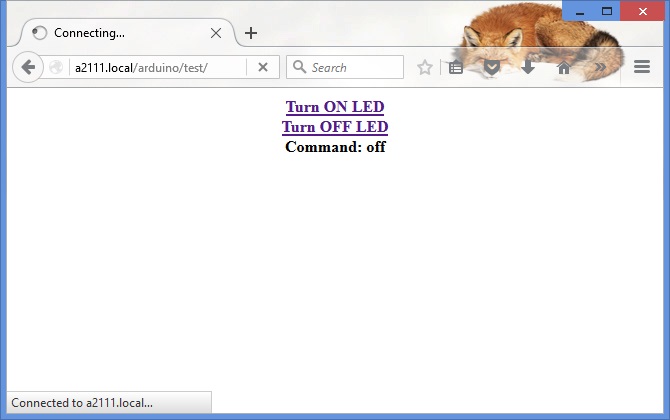
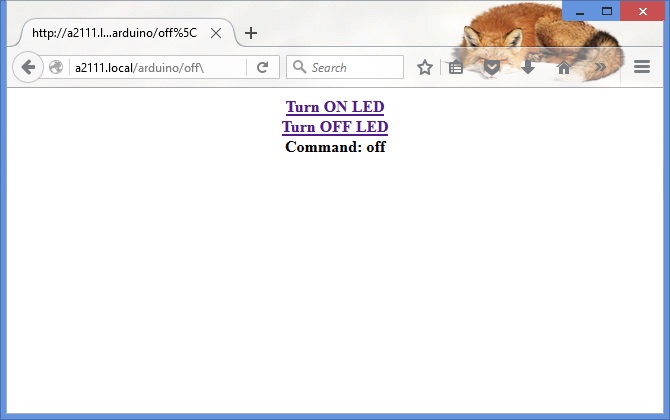
Select "Turn ON LED" or "Turn OFF LED" and observe the LED.
It should act accordingly. 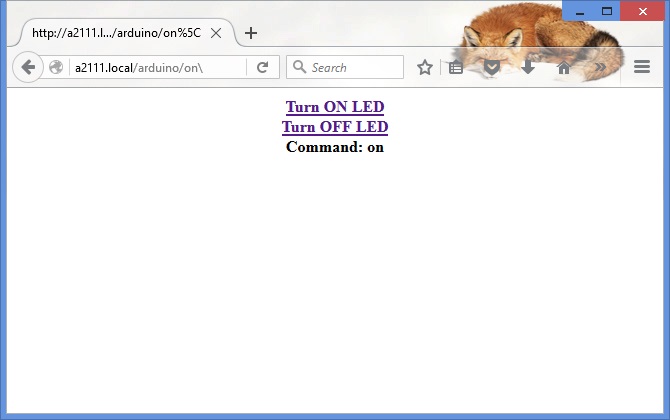
|
Complete!
TIPS
- It worked previously. Now when I power the controller, I can't login to my test page.
Ensure that you have logged in from the login page and are able to access the Home Page before going to the test page.
The test page is unable to show itself if you have not already logged in from the login page (http://<Yunname>.local/).
LINKS |
|
