WHAT IS AN XBEE? |
An XBee is a radio module first introduced by MaxStream brand in 2005. To put it simply, it is a wireless communication module that is able to make a wireless control network that spans from one corner of your house to the other.
It uses the IEEE 802.15.4 networking protocol which enables for fast point-to-multipoint or peer-to-peer networking. If it is point to point networking you require, try using Bluetooth instead. |
INGREDIENtS
HARDWARE |
|

TIP: Unsure of what XBee you require? Check out the link below for a purchase guide.
https://www.sparkfun.com/pages/xbee_guide
https://www.sparkfun.com/pages/xbee_guide
Software
|
All listed (software) items are available for free via the links provided.
|
Procedure
STEP 1:
|
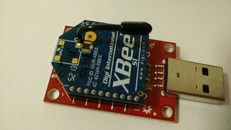
Connect XBee #1 (one of the two XBees) to the Explorer Dongle.
Plug it into the USB port at your laptop. Ensure the toggle switch is at UART. 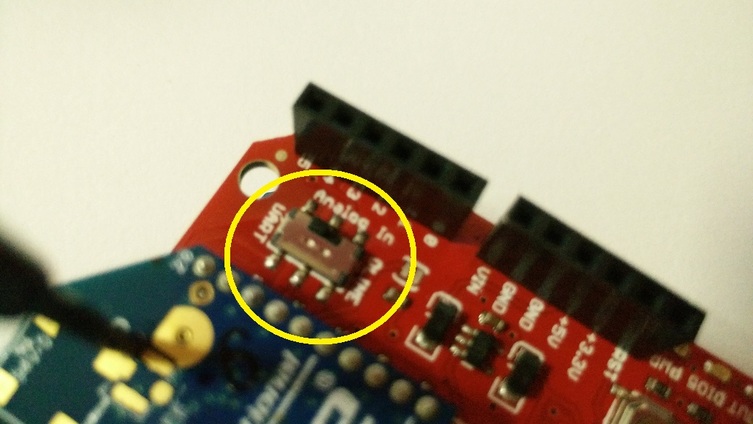

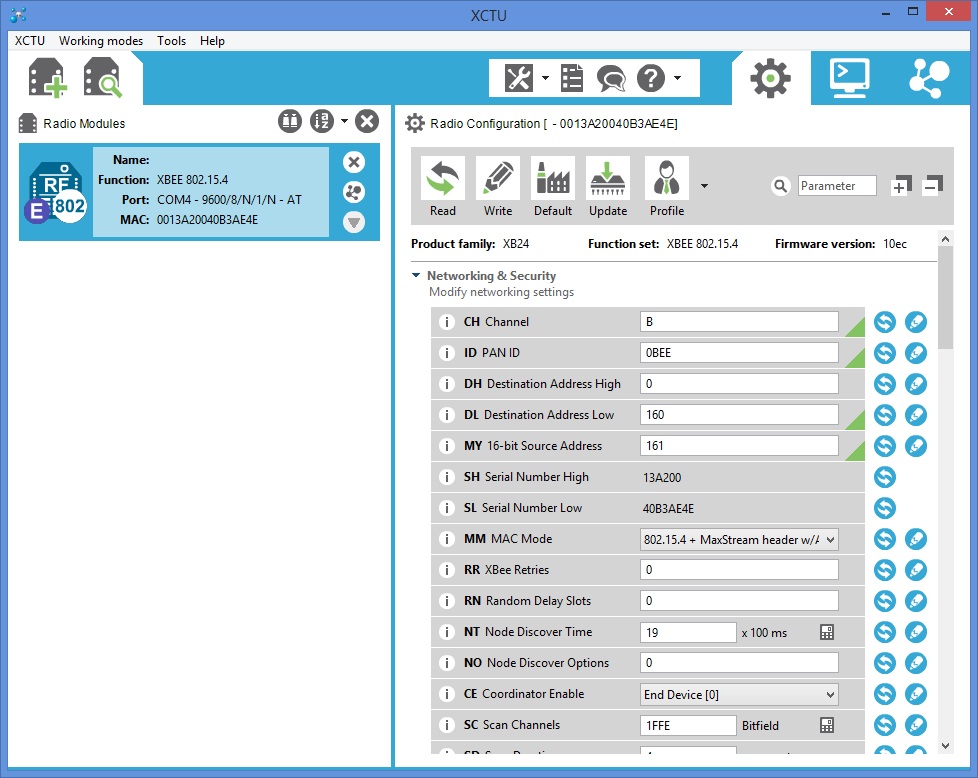
Channel, Personal Area Network ID (PAN ID), MY Address and Destination Address Channel: This controls the frequency band the XBees communicate over. Most XBees operate on the 2.4GHz 802.15.4 band. The channel setting enables further calibration of the operating frequency within that band. You can usually leave the channel setting alone, but ensure that all XBees used are on the same channel. Personal Area Network ID (PAN ID): This input is in hexadecimal. It is important as only XBees with the same network ID communicate with each other. It is recommended to adjust this as there may be another user near you using the default ID. MY and Destination Address : MY Address is referred to as the "source address". The Destination Address is the location where the source address sends data to. Hence for one XBee to be able to send data to its counterpart, it must have the same destination address as the other XBee’s source. An example of how the settings can be configured for two XBees are shown below. 
XBEE #1 Settings (EXAMPLE)
Once XBee #1 has been set, connect XBee #2 to the Explorer Dongle and repeat Step 1.
XBEE #2 Settings (EXAMPLE)
It is recommended for the builder to read https://learn.sparkfun.com/tutorials/exploring-xbees-and-xctu/configuring-networks for further understanding.
|
STEP 2:
|

|
STEP 3:
|
Place XBee #2 on the SparkFun XBee Shield and attach it to the top of the Arduino UNO board.

TIP #1: Pay attention to the pin legs when slotting one component on top of another. This is to ensure the pin legs are not bent in the process.
TIP #2: Be gentle. Do not force the components apart once they have been placed to prevent it from being damaged. Note that the power source for the arduino is not shown here. You may use a battery or the USB port at your pc.
|
STEP 3:
|
Open the file below using the Arduino Software and upload it to the Arduino UNO board. Comments have been included to further explain the instructions in the program file.
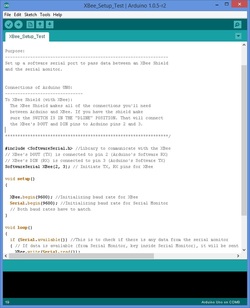
Note that the image above does not show the entire program.
| ||
STEP 4:
|
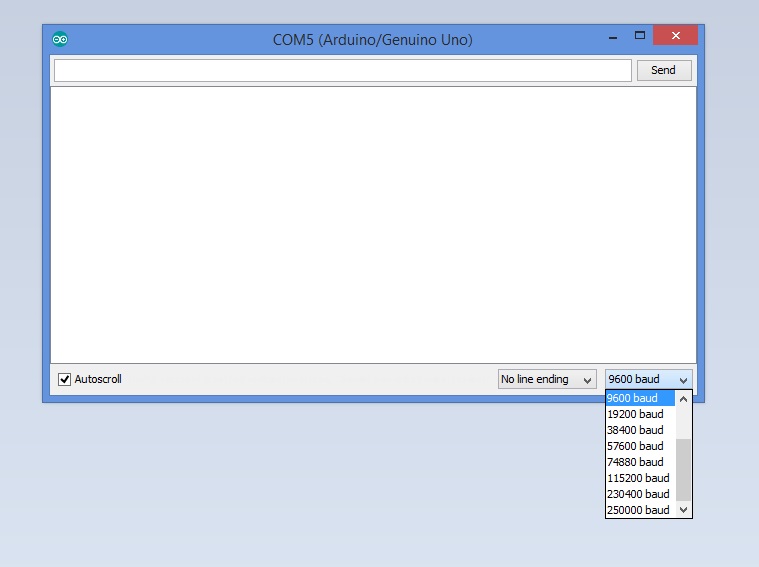
Once upload is complete, open the serial monitor at the top right corner of the Arduino Software.
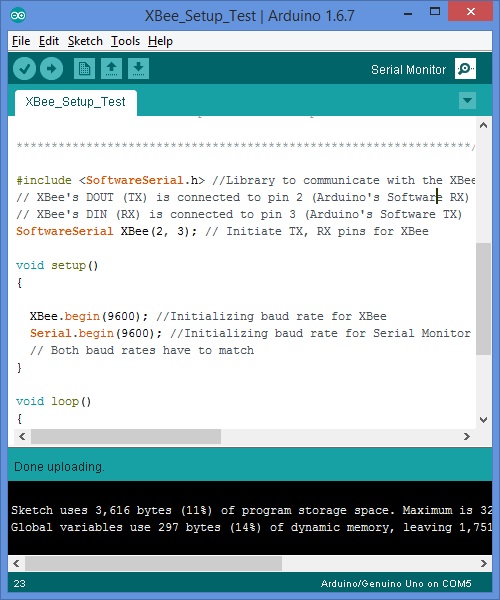
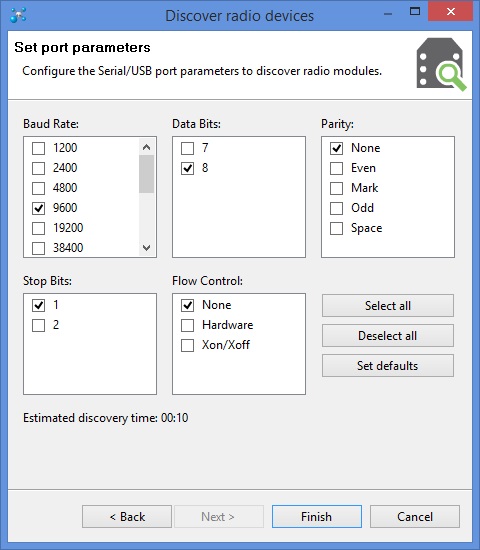
Set the baud rate to match the one in your program and the XBee.
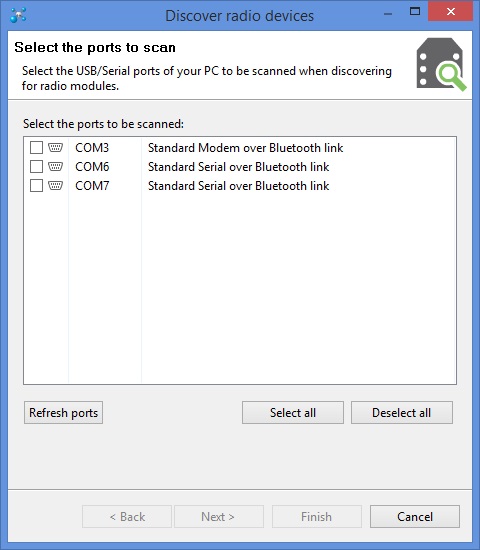
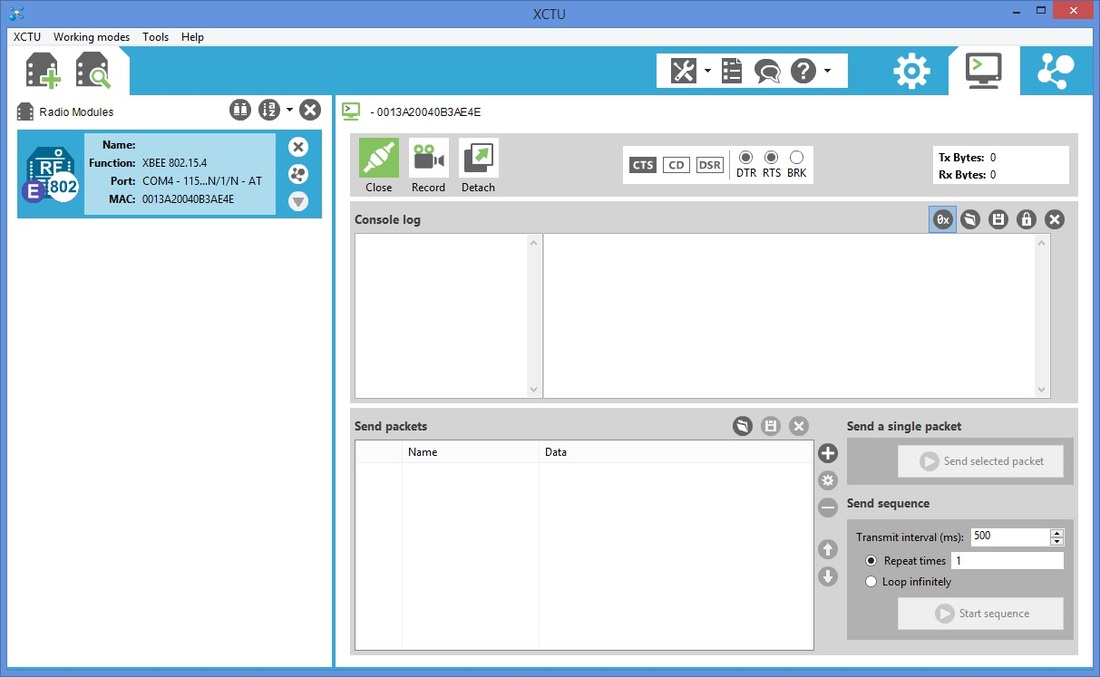
Open the XCTU application (if it is not already launched) and select the icon to open the connection.
XBee #2 (hardware) should now be switched to OLINE. 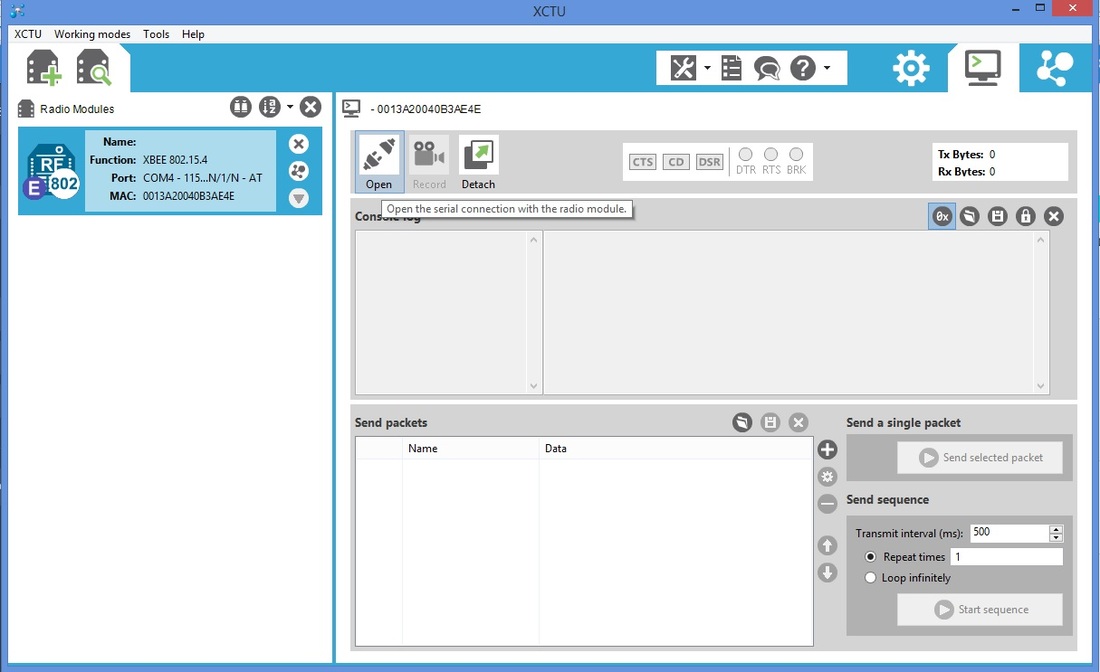
The icon will turn green as shown.
Type "hi arduino" into the input area of the XCTU application. You will see the message appear respectively in the serial monitor of the Arduino Software.

Type in message here
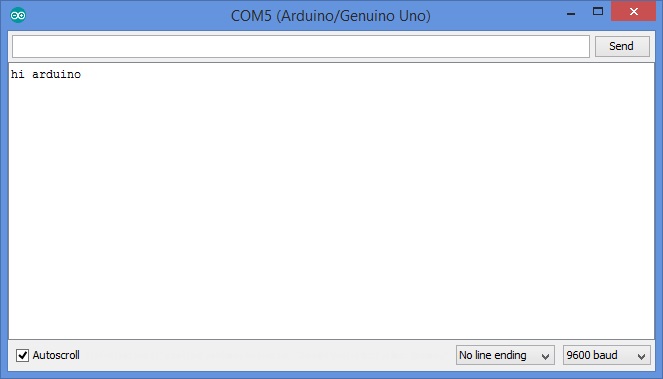
View the message shown in the Arduino UNO serial monitor
Now type "hello" in the serial monitor and click "Send". The message should be shown in a different color in the XCTU application.
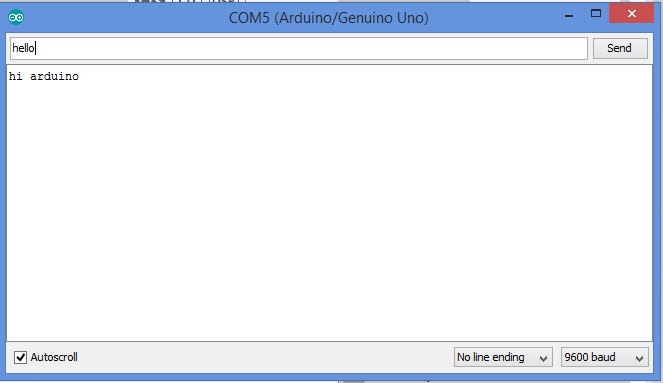
Type in message here

Congratulations! You are now communicating successfully between devices (although you basically said hi to yourself and replied)
You should now test this with the Arduino UNO powered by batteries rather than the USB cable. As the serial monitor of the Arduino Software is not available without the USB cable connection. Try changing the code to light up an LED when a certain variable is received.
In this case, when XBee #2 receives the comment "H" it will proceed to light up the attached LED briefly. Now try sending a string of "HHHHHHH".
Check that it lights up only when receiving "H" by sending any other character or symbol from your keyboard. 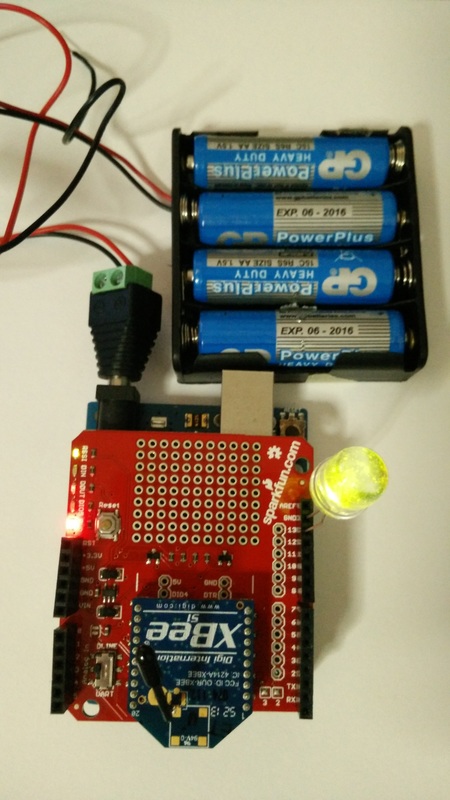
| ||
COMPLETE!
LINKS |
|
