USING Autodesk inventor professional (Education)
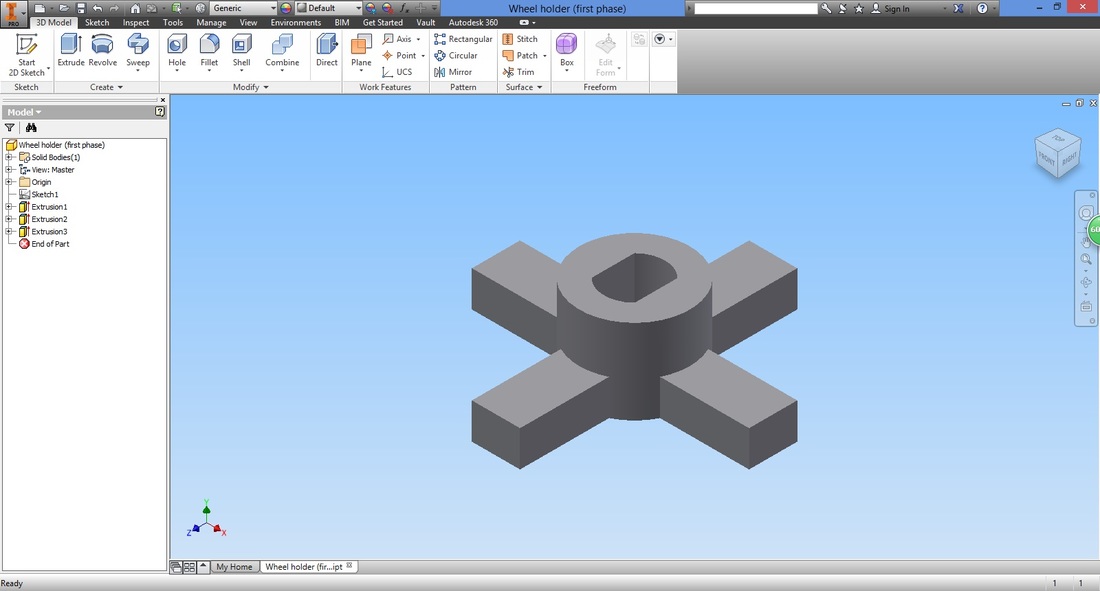
Step 1
Once you have completed a part, ensure that you are not inside a Sketch. Save your part before proceeding to save another copy of it as a STL file.
STEP 2
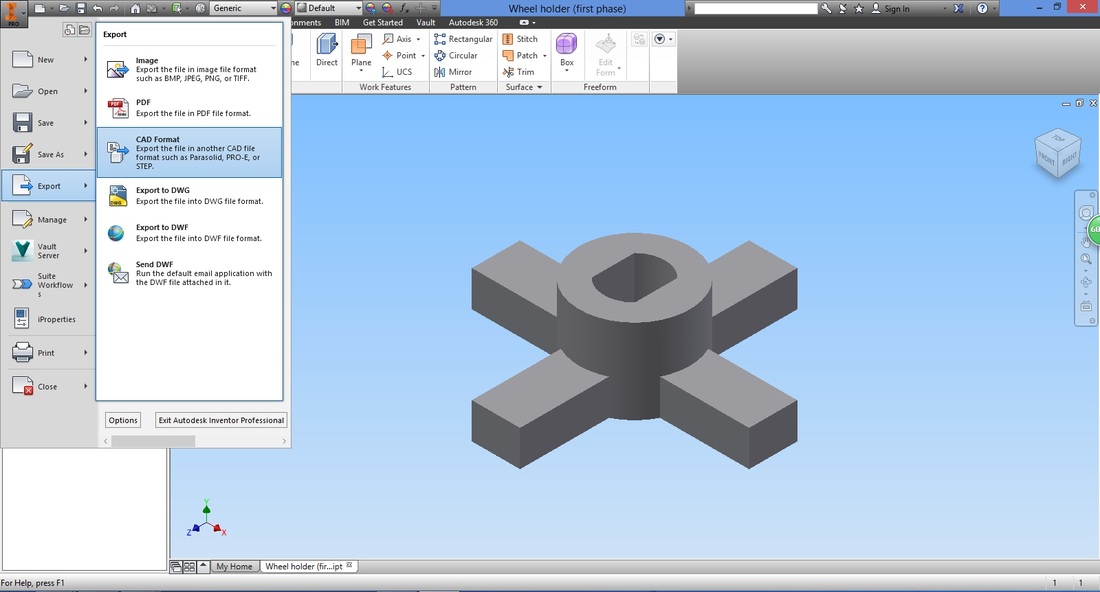
Left click the inventor symbol and select Export.
Select CAD Format from the list. *note this differs from Solidworks
Select CAD Format from the list. *note this differs from Solidworks
step 3
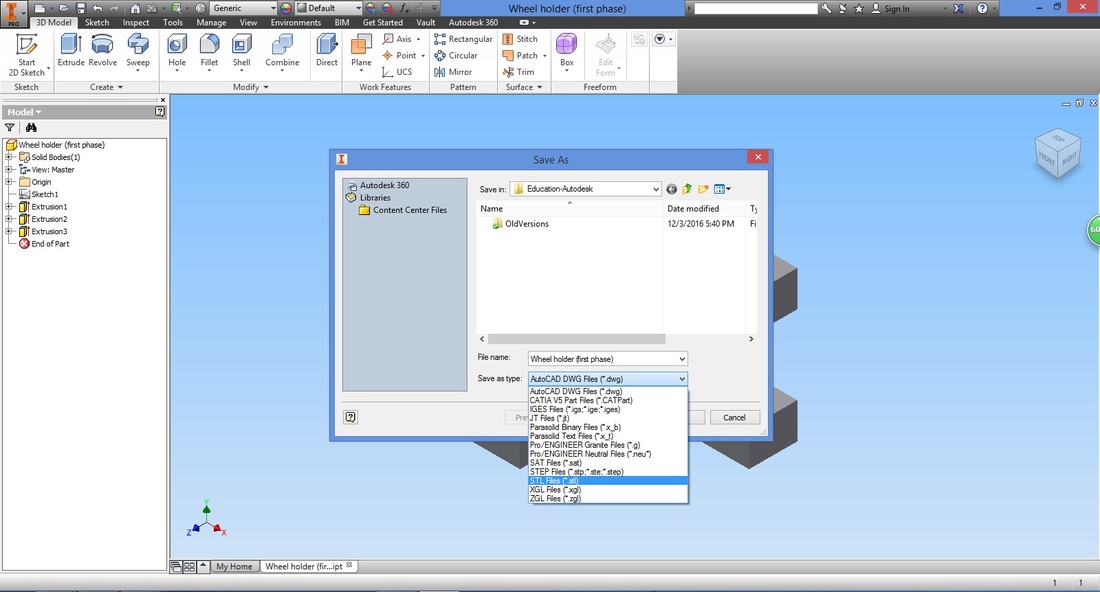
Select STL Files under "Save as type".
STEP 4
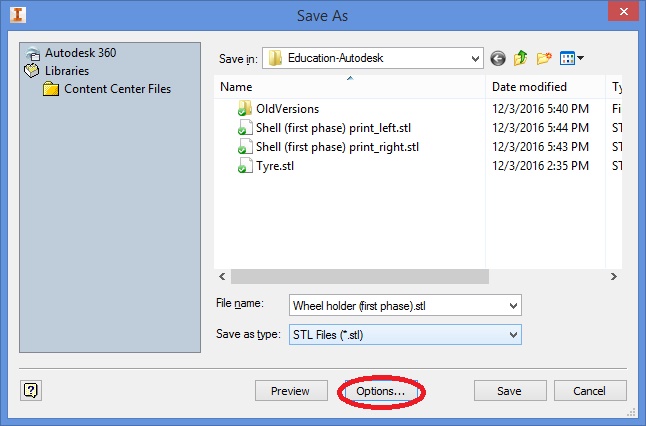
Next, select Options.
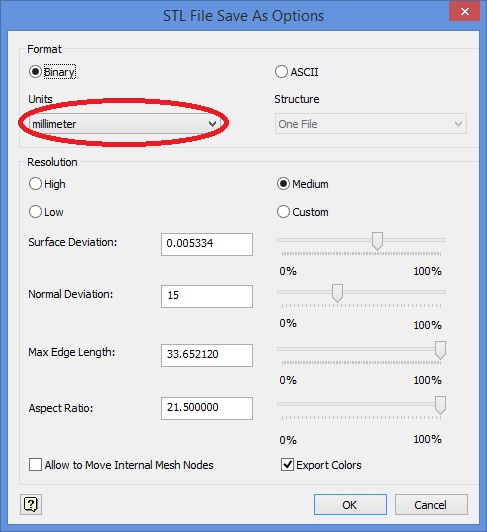
Ensure that the units tally with that you have used to draw your part.
(In the examples under "Build Your Own UGV", I've chose to use millimeter).
(In the examples under "Build Your Own UGV", I've chose to use millimeter).
STEP 5
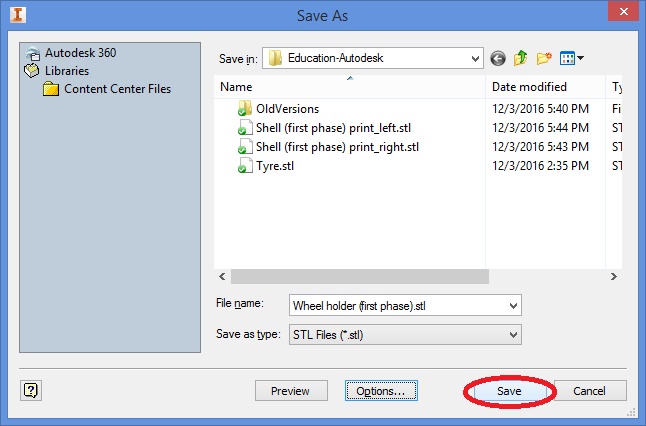
Once completed, select Save.
COMPLETE
USING SOLIDWORKS
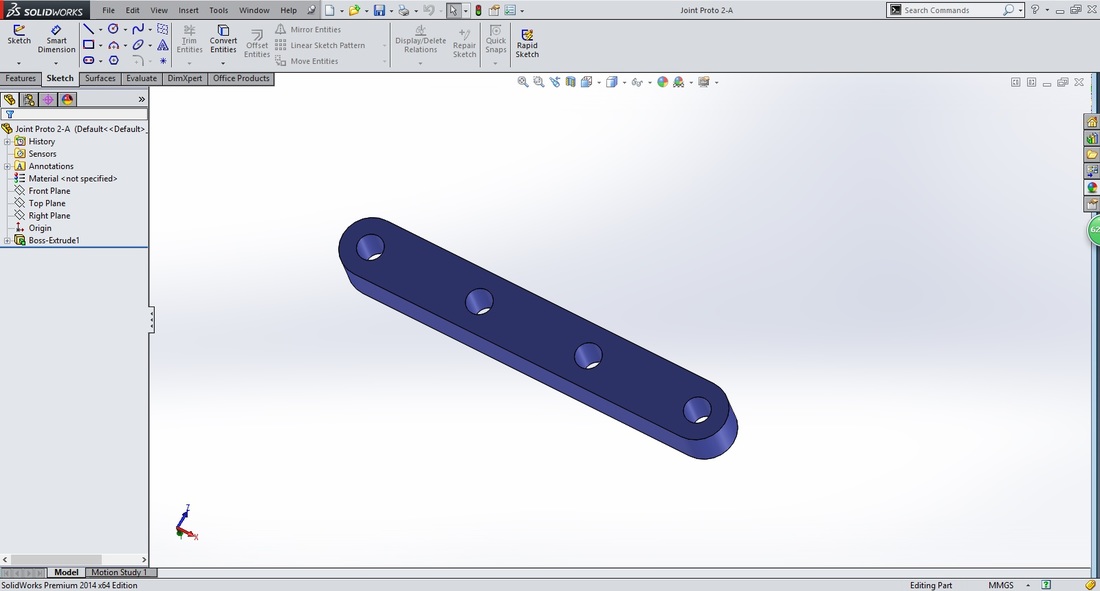
step 1
Once you have completed a part, ensure that you are not inside a Sketch. Save your part before proceeding to save another copy of it as a STL file.
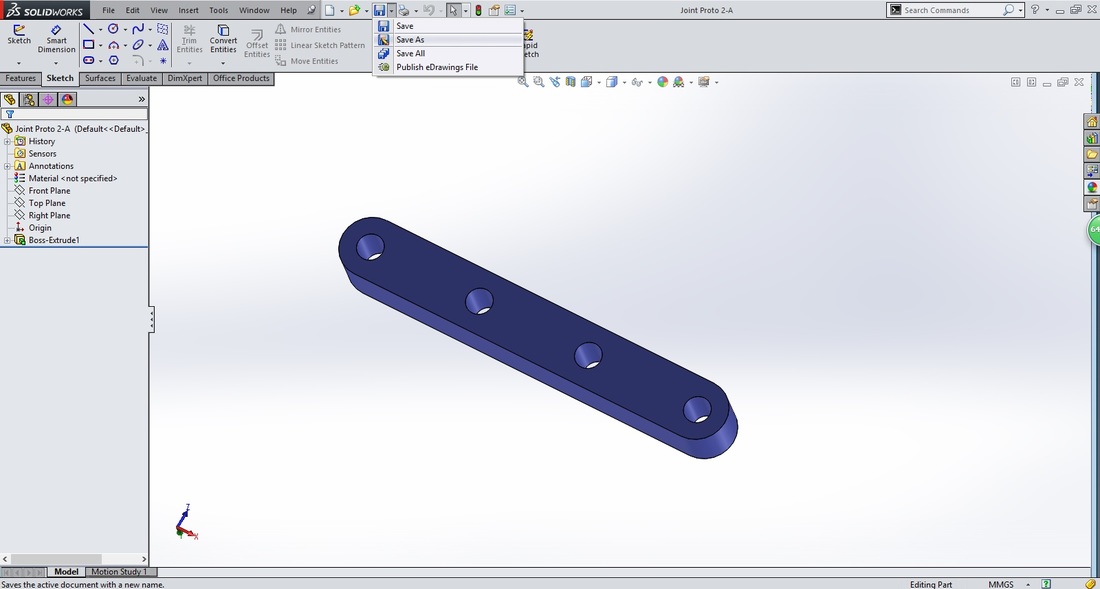
step 2
Select Save As.
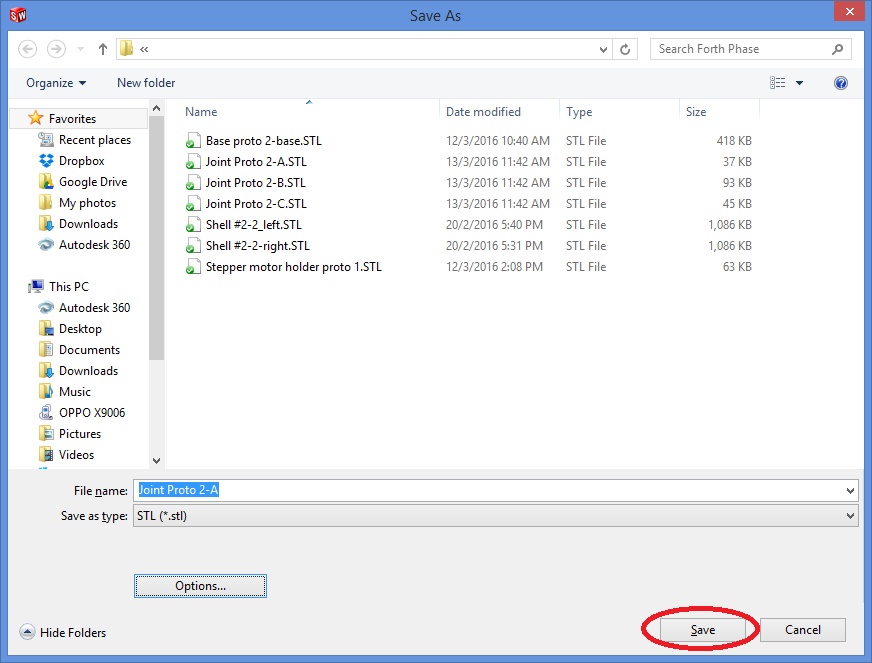
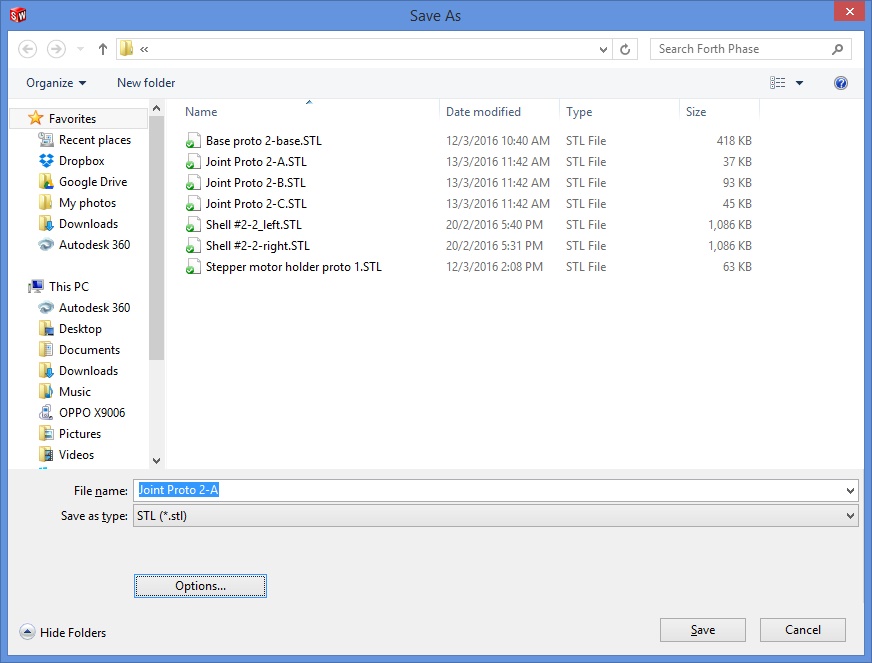
Step 3
Select STL Files under "Save as type".

step 4
Select Options.
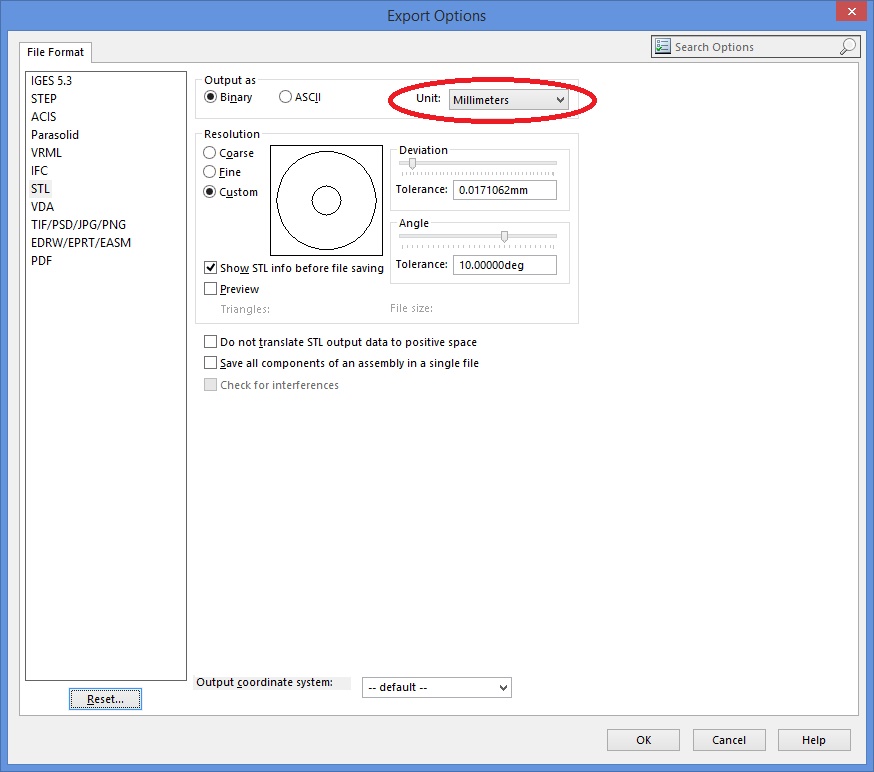
Ensure that the units tally with that you have used to draw your part.
(In the examples under "Build Your Own UGV", I've chose to use millimeter).
(In the examples under "Build Your Own UGV", I've chose to use millimeter).
Step 5
Once completed, select Save.