WHAT IS A STEPPER MOTOR? |
This is a stepper motor which as the name suggest, is controlled in steps- accurate, fixed angle increments. It can be controlled by pre-defining these steps in each direction. It is also able to run quietly at approximately 15 rpm when powered by an 8 volts power source.
The advantage of this motor is that higher precision and control can be established over the motor movement. It is however more complex to control than the servo and DC motors. It has a gear ratio of 64 and a stride angle of 5.625°. The number of steps to pre-define is calculated by multiplying the number of steps in a revolution with the gear ratio. For example, Steps= (360°/5.625°) * 64 = 4096 steps |
INGREDIENTS
HARDWARE |
|
Software
|
All listed (software) items are available for free via the links provided.
|
Procedure
STEP 1:
|
There are a total of four connections required by the BJY48 Stepper Motor. They are:
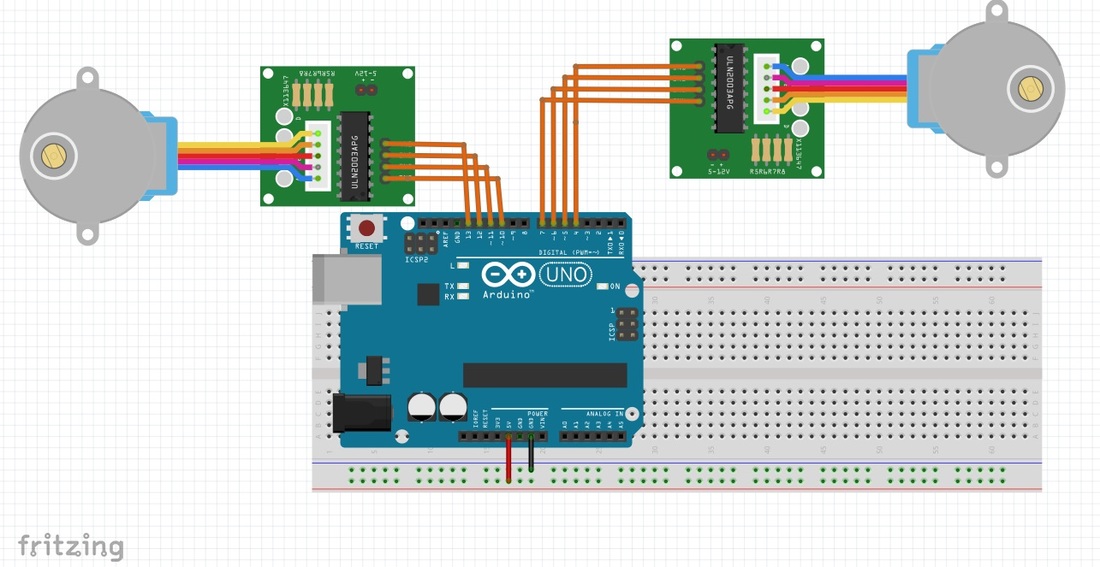
Note that the power source for the arduino is not shown here. You may use a battery or the USB port at your pc.
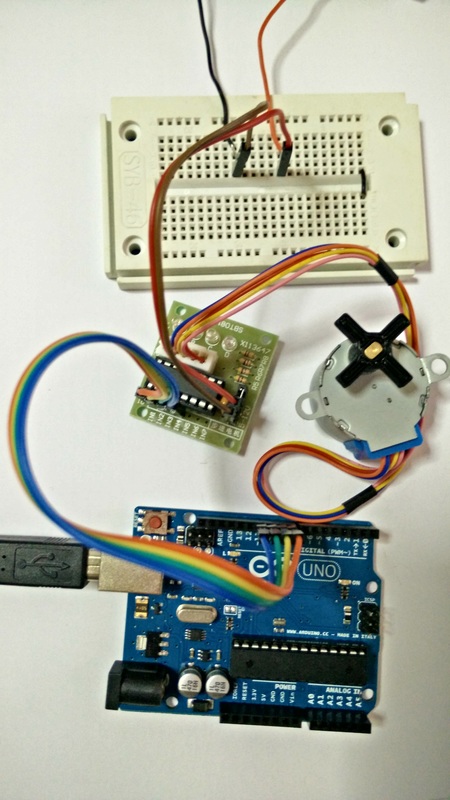

TIP: If it is the first time you are using the breadboard, you can test its connections using the continuity function of a Multimeter.
|
STEP 2:
|
|
STEP 3:
|
Open the file below using the Arduino Software and upload to the Arduino UNO board.
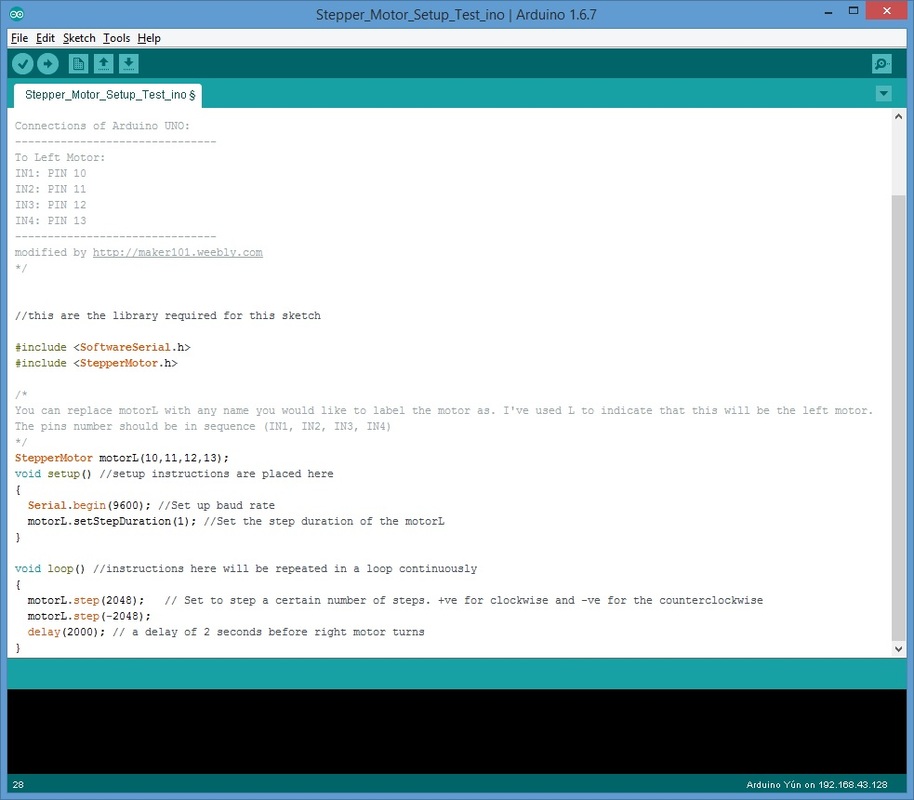
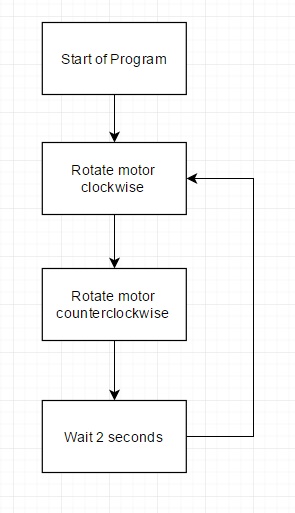
Note that the image above does not show the entire program.
| ||
STEP 4:
|
Once upload is complete, observe that the stepper motor will rotate clockwise then counter clockwise.
If it is not clear which direction the motor is turning, you can place the horn or wheel holder printer. Otherwise, use a masking tape and tape the an edge. |
Complete!
TIPS
- The motor is vibrating but it does not turn.
Check if you have plugged in the wires using the wrong sequence. If that is correct, you might want to try charging your battery or replacing it.
LINKS |
|
